Choosing beautiful drapery is only half the journey—mastering How to Measure For Curtains is what determines whether your windows look effortlessly polished or unintentionally awkward. Even the most luxurious fabrics or elegant neutral curtains can lose their charm if they’re sized incorrectly. This guide walks you through the essentials so you can hang your curtains with complete confidence and precision.
1. Why Proper Curtain Measurements Matter
Window treatments shape the structure of a room. Poorly sized curtains can make a window look shorter, wider, or visually imbalanced. On the other hand, accurate measurements create balance, add height, and frame the space beautifully.
Correct sizing ensures:
- Better light control
- Enhanced privacy
- Proportional design
- Smooth curtain flow and drape
- A tailored, designer-approved look
2. Tools You Need Before You Begin
Before lifting a tape measure, gather:
- A metal measuring tape (soft tapes stretch and cause errors)
- A notebook or note-taking app
- A pencil
- A step stool (if your windows are tall)
- The curtain rod or rod measurements if installing a new one
Using the right tools eliminates guesswork and creates beautifully consistent results.
3. Step One: Decide the Hanging Style
How you plan to hang your curtains directly impacts the measurements. Ask yourself:
A. Will the rod sit above the frame or close to it?
Designers often place rods:
- 6–12 inches above the window frame for a taller, grander look
- Closer to the frame for a minimalistic vibe
B. Will the rod extend wider than the window?
Typically, rods extend:
- 4–6 inches on each side
- Up to 10 inches for a more dramatic appearance
This added width allows curtains to stack neatly without blocking natural light.
4. Step Two: How to Measure Curtain Width
Curtain width determines how full and elegant your drapery will appear.
A. Measure the Rod, Not the Window
Always measure the curtain rod from end to end (excluding finials).
B. Decide the Desired Fullness
Fullness creates a soft, luxurious look—especially when using textured fabrics or neutral curtains.
Use this rule of thumb:
- Standard fullness: curtain width = rod width × 1.5
- Luxe fullness: curtain width = rod width × 2
- Sheer curtains: rod width × 2.5
Example
If your rod is 60 inches wide:
- Standard fullness: 90 inches total curtain width
- Luxe fullness: 120 inches total width
You can divide this width between two panels or use a single wide panel.
5. Step Three: How to Measure Curtain Length
Curtain length defines the mood—structured, romantic, relaxed, or tailored.
A. Start Measuring from the Rod
Measure from the top of the rod (or top of rings/clips) down to your desired length.
B. Choose Your Length Style
Here are the most popular curtain lengths:
1. Sill-Length
Ends right at the windowsill.
Perfect for kitchens, offices, or tight spaces.
2. Apron Length
Curtains extend 4–6 inches below the sill.
This length creates a neat, tidy look.
3. Floor-Length
The most popular choice.
Ends ½ inch above the floor for a crisp, tailored finish.
4. Kiss-Length
Just barely touches the floor.
Ideal for a soft, contemporary feel—requires very accurate measurements.
5. Puddle Length
Extends 3–12 inches onto the floor.
Best for romantic, dramatic, or vintage-inspired interiors.
6. Step Four: Consider Curtain Header Styles
Different curtain tops slightly change your measurements.
A. Grommet Curtains
Grommet top styles hang lower because the rod passes through the metal rings.
Add 1–1.5 inches to your desired length.
B. Rod Pocket Curtains
Fabric sits directly on the rod.
Measure from the top of the pocket, not the top of the panel.
C. Pinch Pleat Curtains
These offer a structured, premium look.
Measure from the top of the pleat for accuracy.
7. Step Five: Account for Brackets and Finials
Curtain rods with decorative ends and deeper brackets can influence the final look.
- Ensure the rod is far enough from the wall so the fabric can fall freely.
- Standard spacing: 3–5 inches from wall to rod.
8. Step Six: Double-Check Your Final Measurements
Before placing an order or purchasing ready-made curtains:
- Re-measure width
- Re-measure height
- Compare to your preferred fullness
- Confirm the rod placement
- Make sure furniture won’t block curtain flow
Accuracy here saves returns, exchanges, and styling frustration.
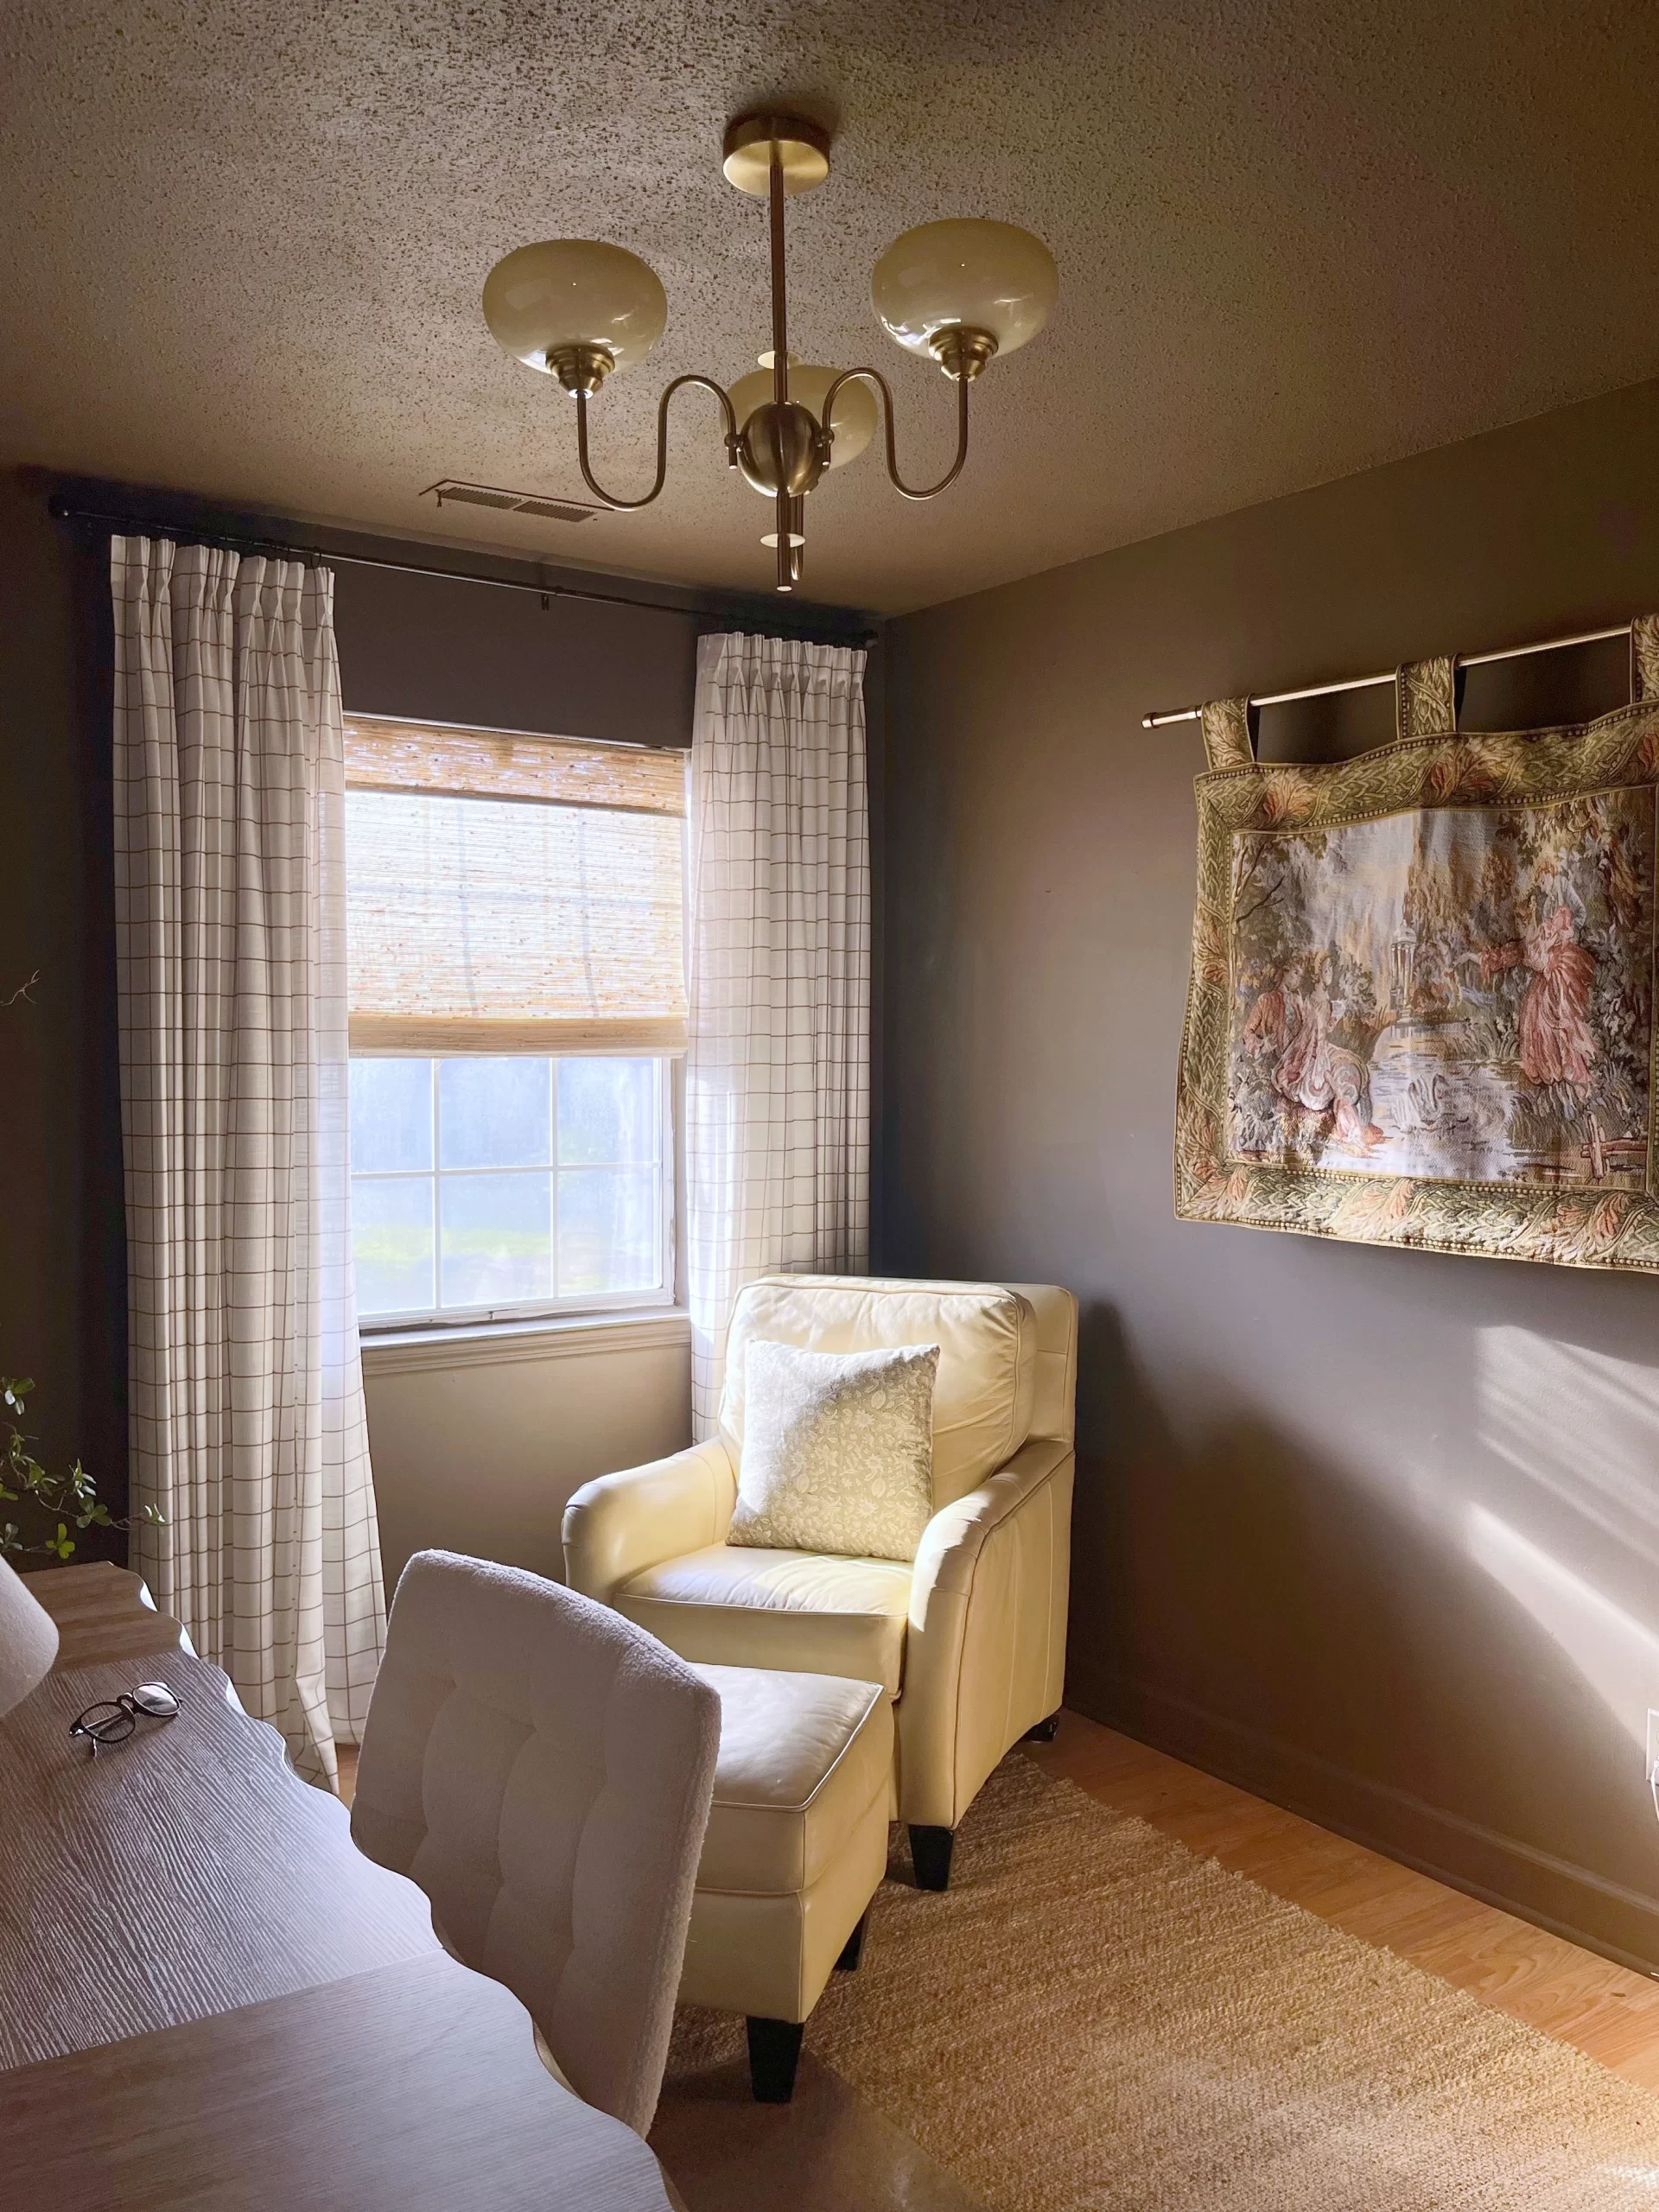
9. Tips for Styling Neutral Curtains
Since you requested the phrase Neutral Curtains, here are tips on integrating them beautifully:
- They blend effortlessly with any palette—warm, cool, earthy, or modern.
- Add layered looks by pairing them with sheers or textured blinds.
- Use wide rods and longer lengths to make windows appear larger.
- Combine with natural elements—rattan, bamboo, linen—for a serene vibe.
10. Conclusion:
Measuring for curtains may seem small, but it profoundly shapes the outcome of your window treatment design. With careful attention to width, length, hanging style, and fullness, you can achieve that perfectly tailored, designer-inspired look every homeowner admires. Whether you’re installing bold drapery or the simplicity of neutral curtains, precise measurements ensure your investment elevates the room, enhances light control, and contributes to a cohesive interior atmosphere. Follow this guide step by step, and your curtains will look custom-made—every single time.


Leave a comment